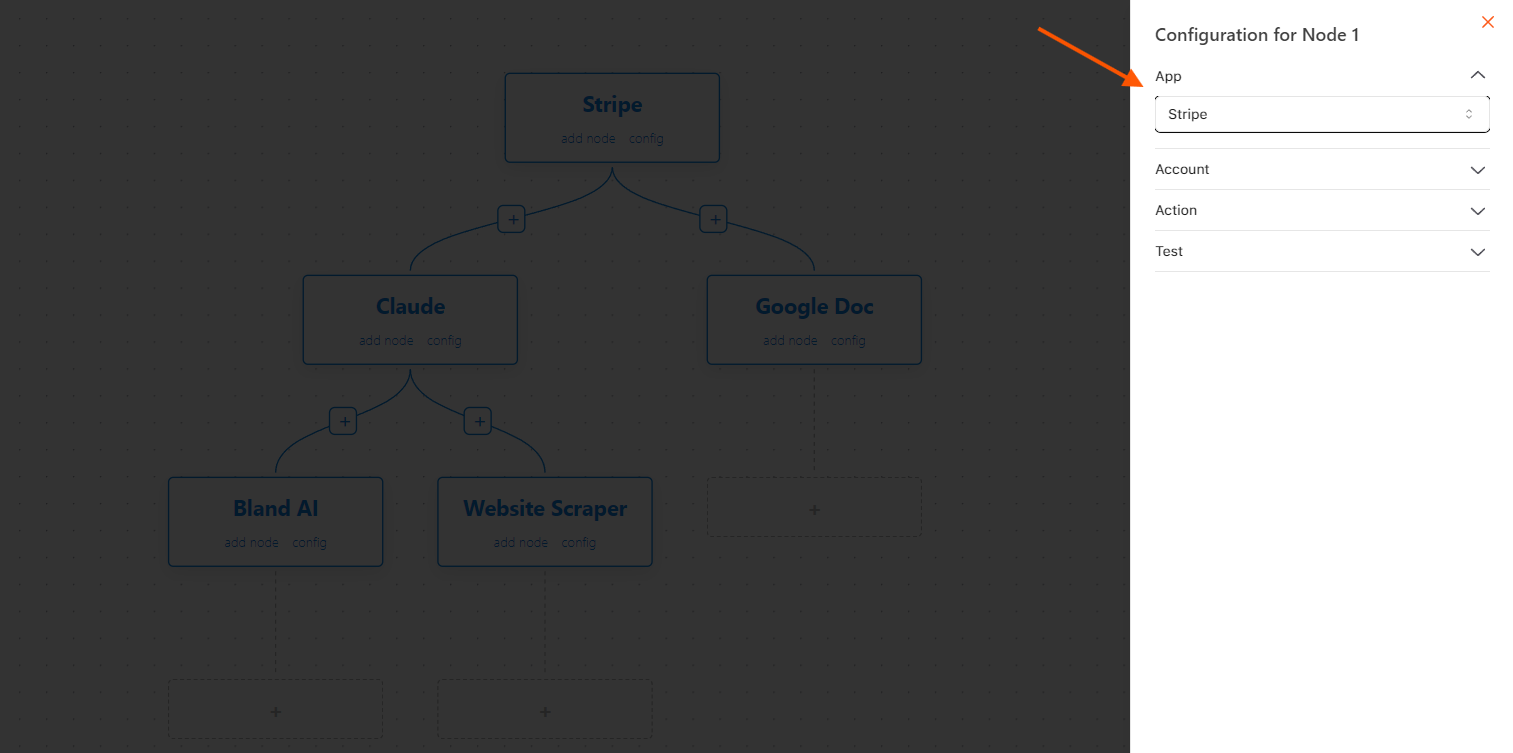
1

Select Stripe in App

Begin by navigating to the application interface and selecting the “Stripe” option. This will grant access to Stripe’s payment and financial services.
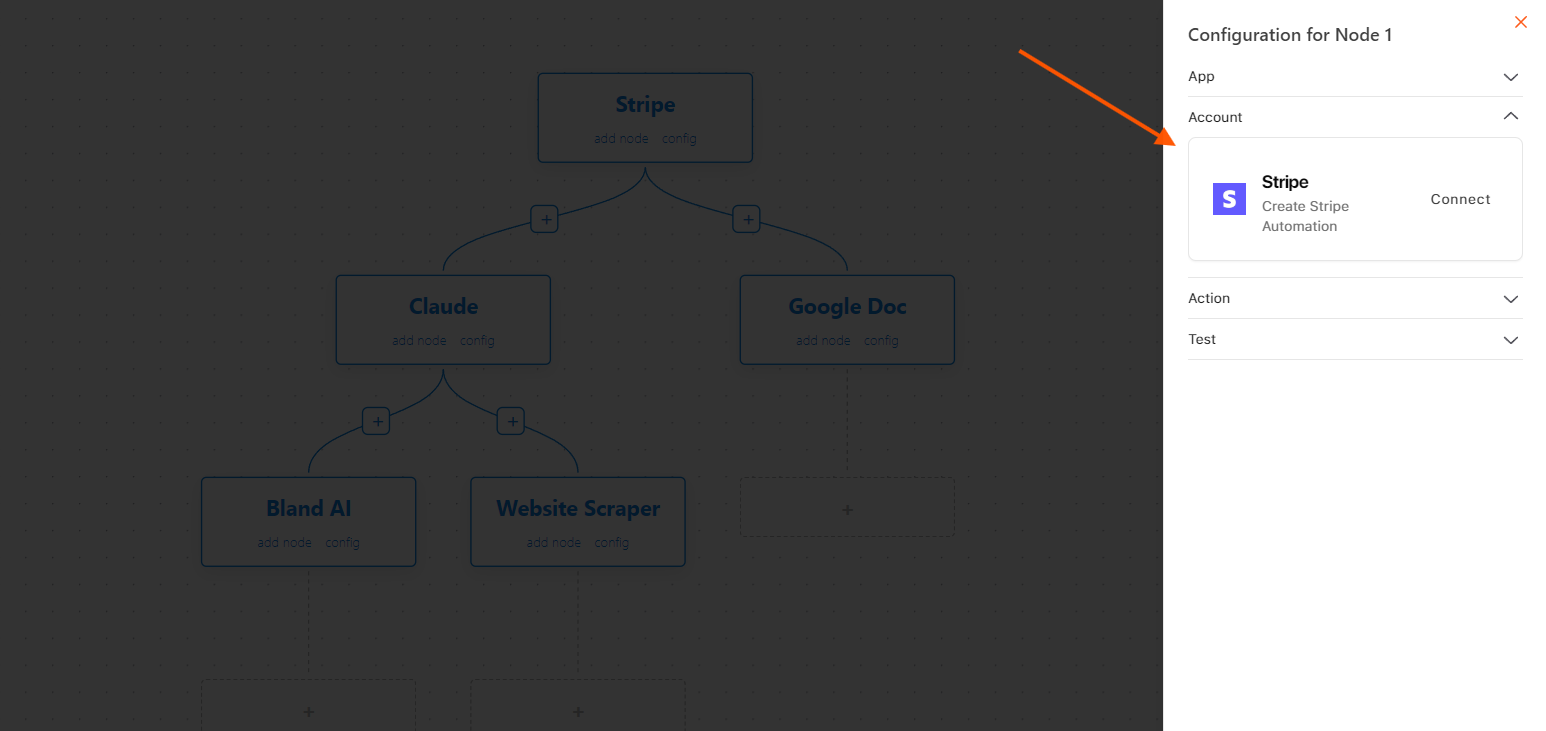
2

Integrate Account

To integrate your Stripe account, go to the account settings or integration section and follow the steps to connect your Stripe account. This process will ensure the app can access and manage your Stripe data for payment processing and related tasks.
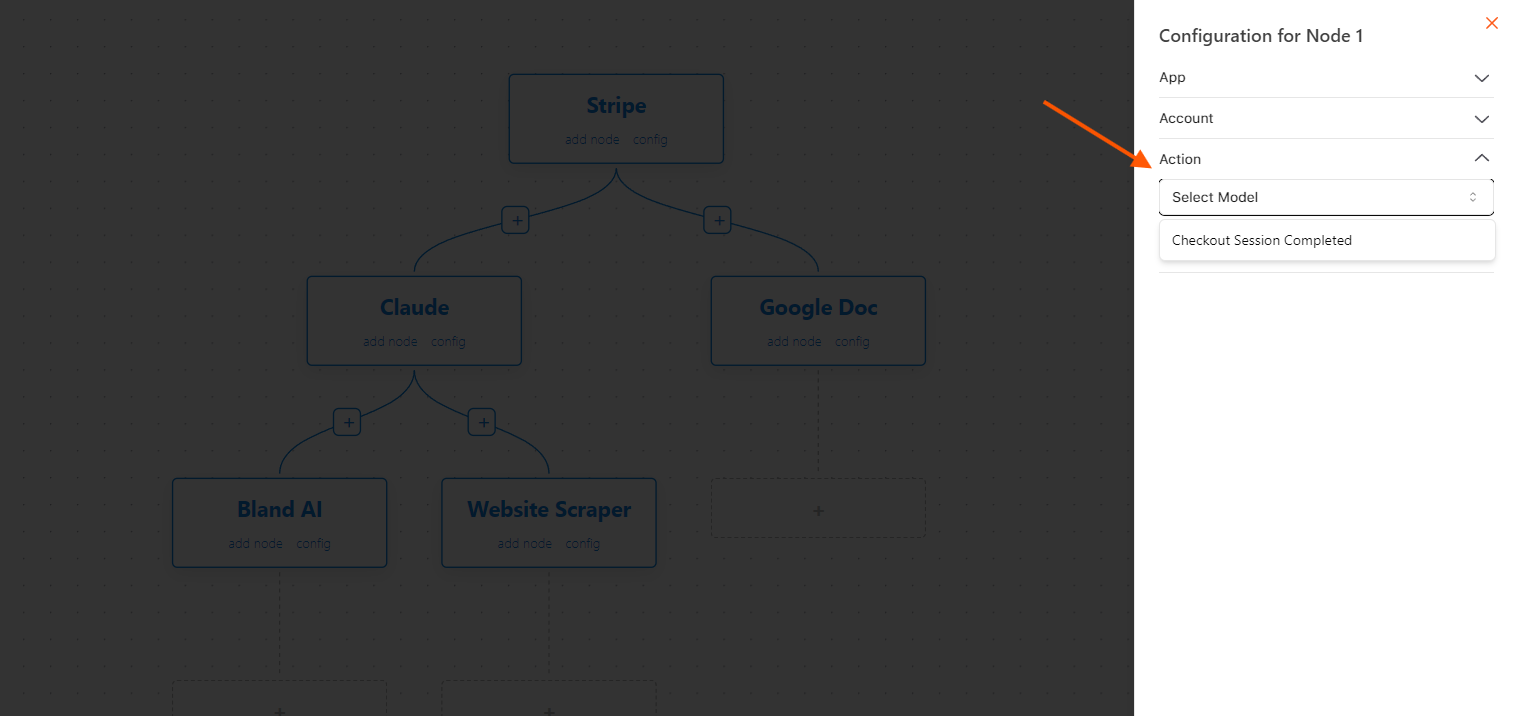
3

Choose Model

Access the dropdown menu and select the appropriate model:
Stripe Integrations Models

Checkout Session Complete

Triggers actions in workflows when a Stripe checkout session is successfully completed. This can include generating invoices, sending confirmation emails, or updating a Google Sheet with transaction details.

Example:

After a successful payment, a Google Sheet can be updated with customer details and payment status, and an email with the receipt can be sent automatically.

{
    "Authorization": "CLAUD_API_KEY",
    "encrypted_key": "YOUR_ENCRYPTED_KEY"
}

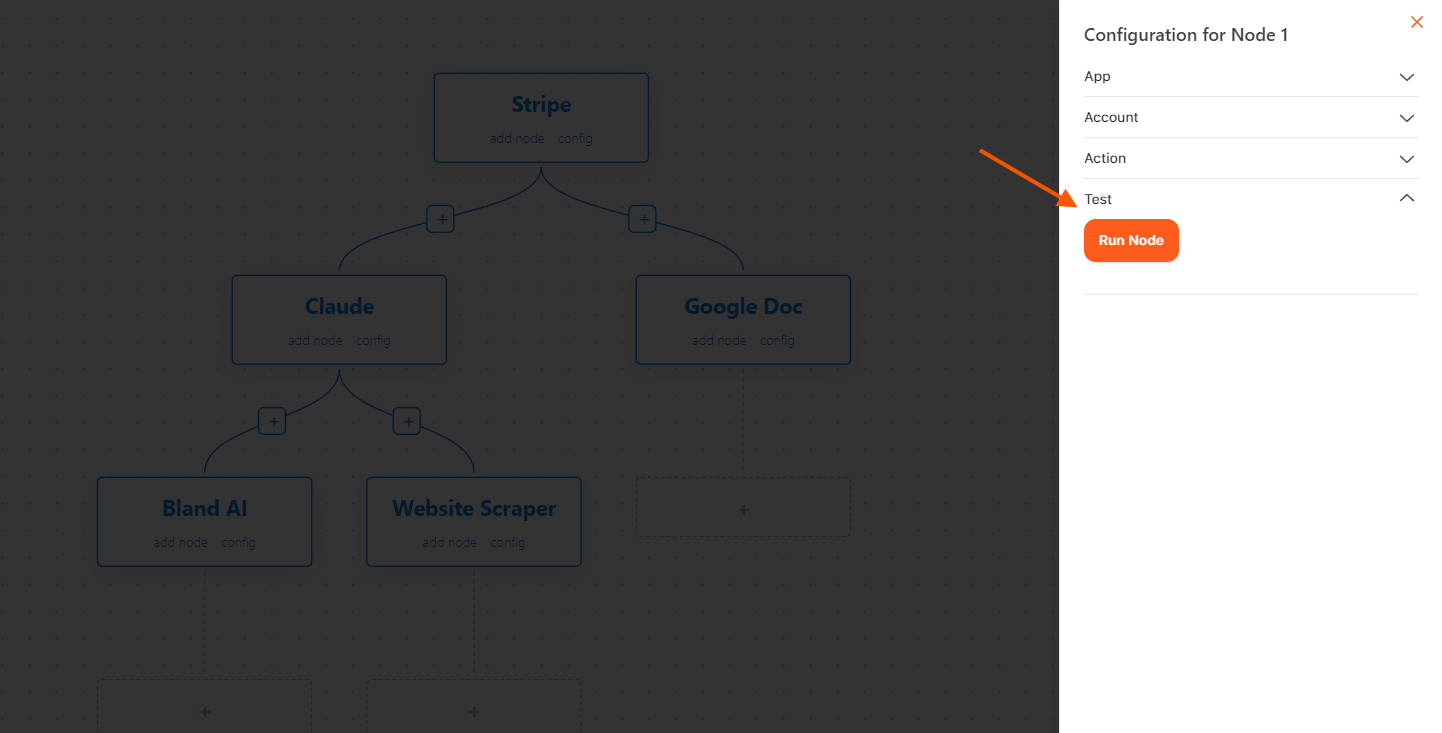
4

Run the Node

Finally, initiate the node by running the appropriate commands or scripts. This will activate the selected Stripe model, allowing you to either process payments or retrieve payment information efficiently.