1

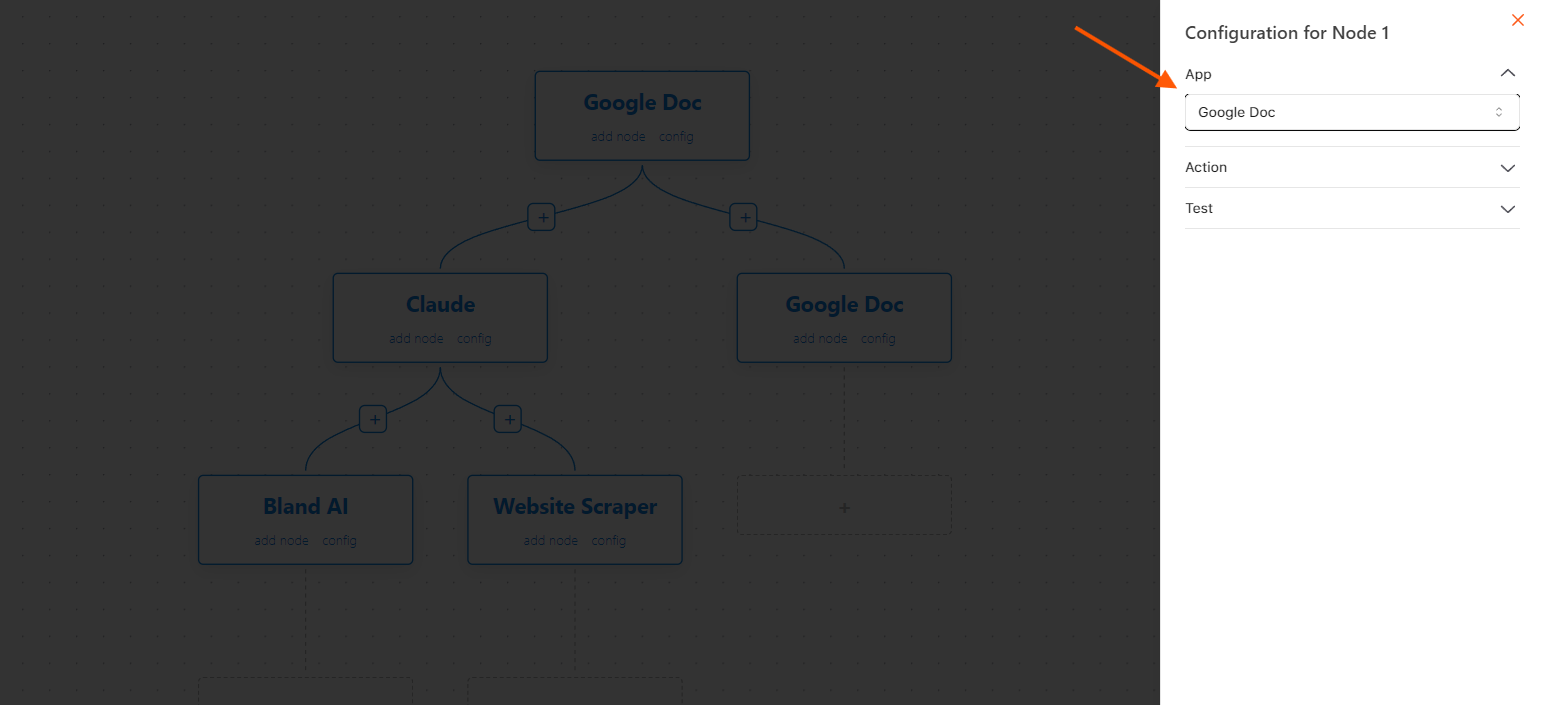
Select Google Docs in App

Begin by navigating to the application interface and selecting the “Google Docs” option. This enables access to the models for working with Google Docs files.
2

Integrate the Google Docs Account

If you log in using your Google account, the app will automatically gain access to your Google Docs, allowing you to manage your documents without further setup. However, if you log in with an email and password (non-Google login), you will need to manually connect your Google account by going to the account settings or integration section. This step grants the necessary permissions to work with your Google Docs.
3

Choose Models in Dropdown

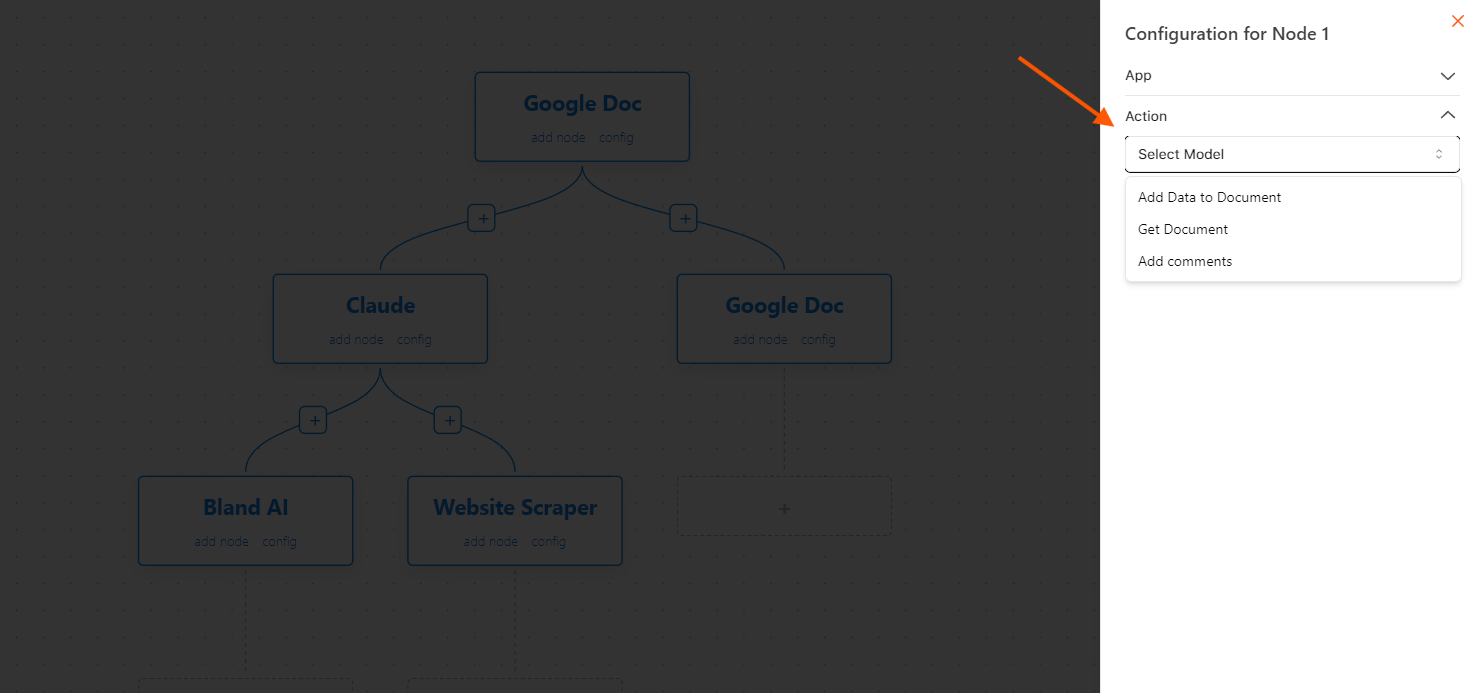
From the dropdown menu, choose the appropriate model:

Google Docs Integrations Models

Add Data to Documents

Allows automated insertion of content into Google Docs. This can be used to generate contracts, reports, or proposals based on templates and predefined data from Google Sheets.

Example:

Automatically populate Google Docs with customer information from Google Forms.

{
    "Authorization": "CLAUD_API_KEY",
    "encrypted_key": "YOUR_ENCRYPTED_KEY"
}

Get Documents

Fetch and retrieve Google Docs content for use in workflows. This is useful for reading and analyzing documents, such as contracts, and generating summaries or insights.

####Example:

{
    "Authorization": "CLAUD_API_KEY",
    "encrypted_key": "YOUR_ENCRYPTED_KEY"
}

Add Comments

Automates the process of adding comments to Google Docs for collaborative workflows where feedback or approvals are needed.

Example:

Claude AI can analyze a document and add comments with insights or suggestions.

{
    "Authorization": "CLAUD_API_KEY",
    "encrypted_key": "YOUR_ENCRYPTED_KEY"
}
4

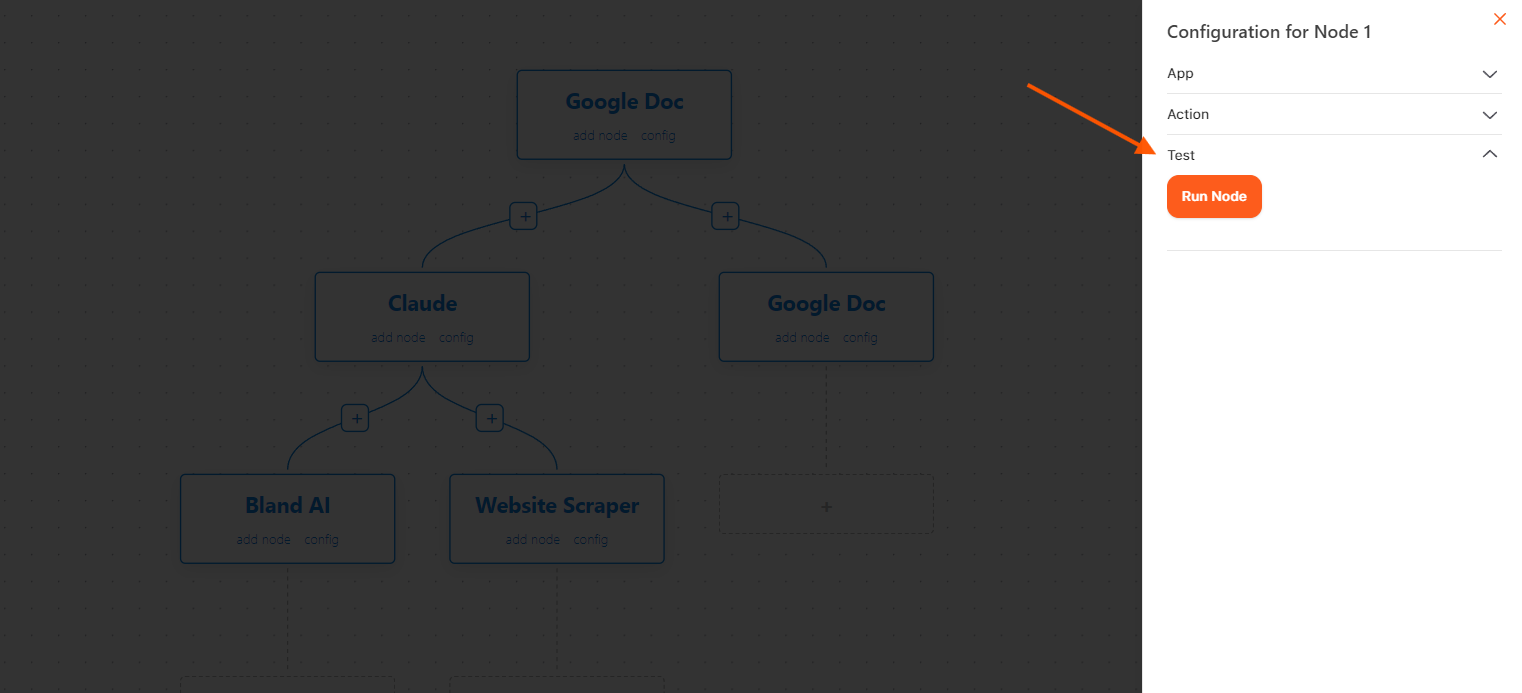
Run the Node

Finally, execute the node by running the relevant commands or scripts. This will activate the selected model, allowing you to either add new data to your Google Doc or retrieve existing content seamlessly.